Garland from Doll Heads - DIY Halloween Decor 2024
Tread carefully in a home adorned with uncannily painted doll heads and chicken bones.
Chances are, the dweller isn't a quirky toy enthusiast but a sinister soul with intentions darker than the bleakest night. Such individuals might not have fully escaped the shadows of their disturbing pasts, often finding a macabre joy in decorating their space with grim doll artifacts. Perhaps, for them, it's a way to paint over the memories, literally and metaphorically.
It's chillingly perfect for Halloween.
But for the majority who aren't lurking in dim-lit corners, murmuring to imaginary friends, let's delve into crafting an eerie Halloween garland that's uniquely haunting, yet crafted without malevolence.
What You Need to Craft a Doll Head Garland
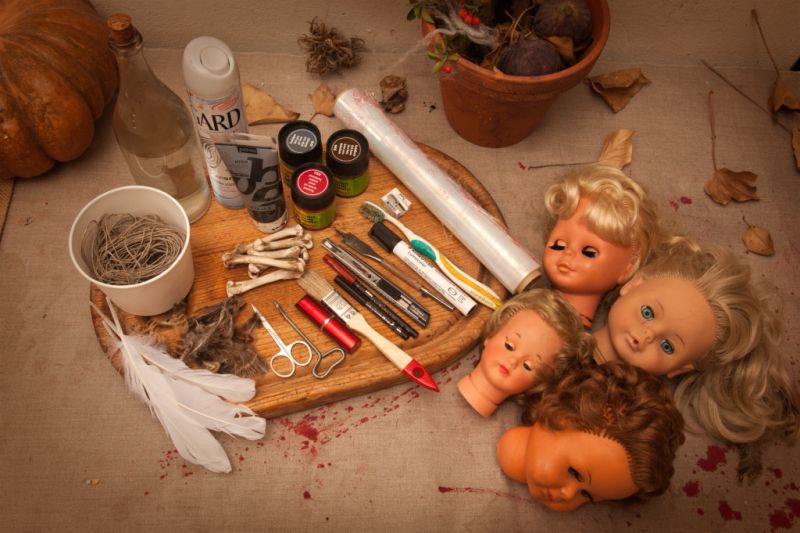
First and foremost, you'll need: Doll Heads.
Aim for variety: A mix of sizes - large and small, and styles – both vintage and new, with different hair lengths.
Perhaps you might spend next weekend scouring a local flea market for these treasures!
However, if browsing through flea markets isn't your cup of tea or if it's just too far off, worry not. With some patience, you can easily snag a box of diverse doll heads from major online auction sites. For context, Halloween Jack scored all the doll heads showcased in this guide for just $10. (And who knows?
You might even stumble upon some doll limbs! Can you imagine the eerie decorations you could craft with those?)
As for styling those doll heads, your imagination is the limit. Here's a rundown of other materials Halloween Jack used for his uniquely creepy "You're Out of Your Mind" Halloween Garland:
- Doll Heads (as mentioned)
- Utility knife, scissors
- Assorted feathers (available at craft stores)
- Acrylic paints and brushes
- Red and black spray paints
- Lipstick and kohl eyeliner
- Boiled chicken bones (for the extra creep factor)
- String
- Tape
- Clear plastic wrap
- Colored markers
- Matches
- Crochet needle
- Toothbrush (for texture, perhaps?)
- Hairspray (to set the final look)
Crafting Guide - Doll Head Garland
Designing the Doll Heads
Let's dive in! Your imagination is the limit. If you're opting to spray paint the faces, be sure to cover the hair to avoid unintentional coloring.
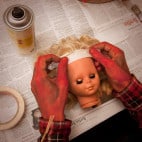

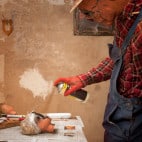
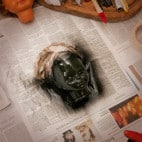
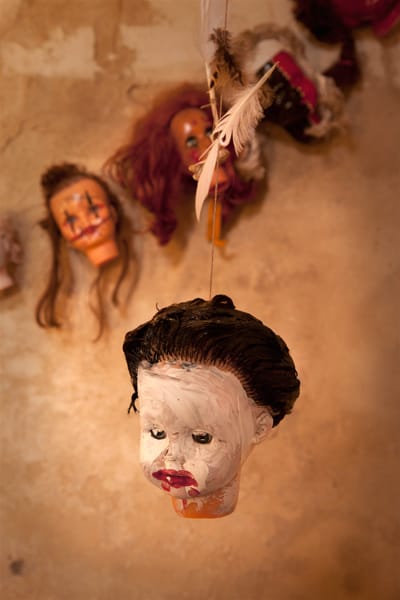
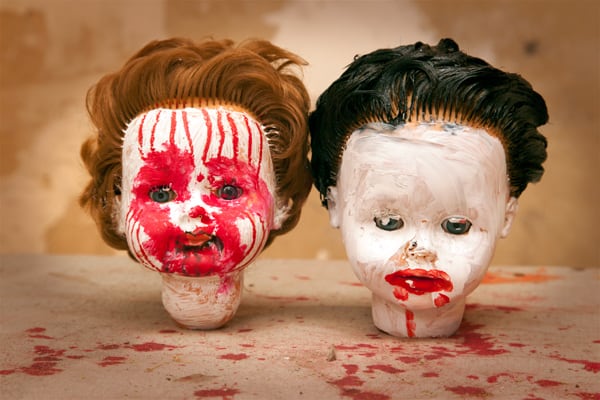
When you coat them with a thick layer of white paint, the faces take on a voodoo-esque appearance.
Have you considered face designs inspired by New Zealand tattoos?
Using sharpie markers, you can accentuate the eyes and add colored pupils to the faces.


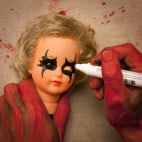

Intertwine feathers and chicken bones into their hair!
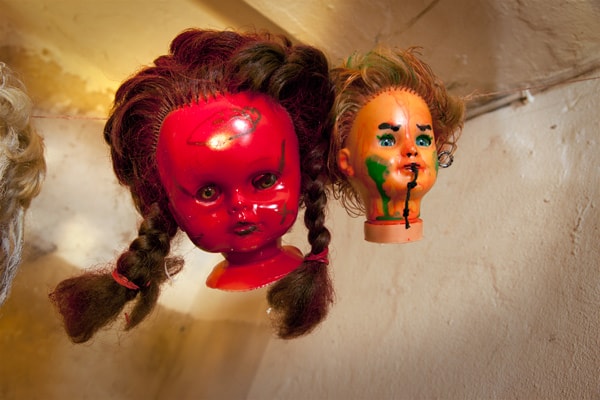
Splatter them with red paint! Let the paint drip! Add occult symbols to their faces and heavily smudge them with lipstick! (Note: oil-based markers, like lipstick or eyeliner, won't dry completely. This means you'll need to handle them with care, even after other paints have set).


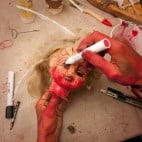

Shave half the hair off the heads! Dye and smudge the hair, then tie it into knots! Insert hooks and screws into gruesome locations!
Paint, design, craft, and have fun!
Here's a potential result for your doll heads when you're finished:


Stringing the Garland:
To attach the doll heads to your garland, create holes on both the left and right sides of the head, preferably using a utility knife.
Ensure the holes are towards the top of the head, so when strung, the doll face points forward rather than upwards.
Threading a string through a doll head isn't as simple as threading a needle, given the depth and positioning of the holes. For a smoother process, use an elongated tool like a crochet hook or a skewer to help guide the string through. Attach the end of your string to the tip of the tool for the best results.

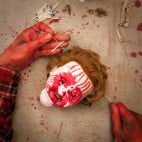


Keeping the Doll Heads in Place:
To ensure the doll heads don't all slide down to the lowest point of the garland, it's essential to incorporate stoppers that secure each head in its designated position.
An effective solution would be to use matches. Knot the matches into the string, and then hide them inside the doll heads. However, be sure that the stopper (the match) is not smaller than the hole you've made, or it won't serve its purpose.
It's worth noting that a garland of doll heads can get surprisingly heavy. Double-check that the matches can handle the weight. If there's any doubt, consider tying two matches together for extra support or even using sturdier alternatives like small metal nails.
If not secured properly, the strain on the matches might cause them to snap, leading to your garland collapsing in the center. Ensure all materials used can support the weight for a successful, spooky decoration!
Encore: What's Hanging from Above?
A single garland of doll heads might not set the eerie ambiance you're aiming for – or as the joke goes in spooky circles, "One garland doesn't a haunted house make."
But for those with a flair for the dramatic, consider supplementing your garland with a few individually suspended heads, creating a captivating tapestry of eeriness. It’s all about setting the scene for the perfect, spine-chilling experience.
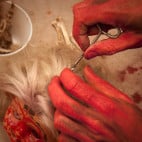


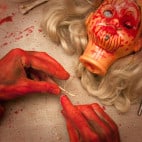
Set aside some of the most captivating heads for this special touch.
Drill a hole at the top of their heads. Then, using a string, attach a match, nail, or similar item to one end. Thread the string through the hole in the head, allowing the item to act as an anchor inside the head, suspending it beautifully in the air.
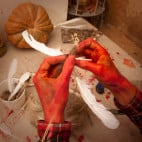


Adorn the hanging string with an array of trinkets.
Consider adding feathers, chicken bones, or twigs. But don't limit yourself; even some unconventional items can enhance the eerie ambiance.
How about integrating a tiny plush toy, for instance!
The more heads you have suspended from the ceiling, the more striking the overall visual impact will be.

The Result

